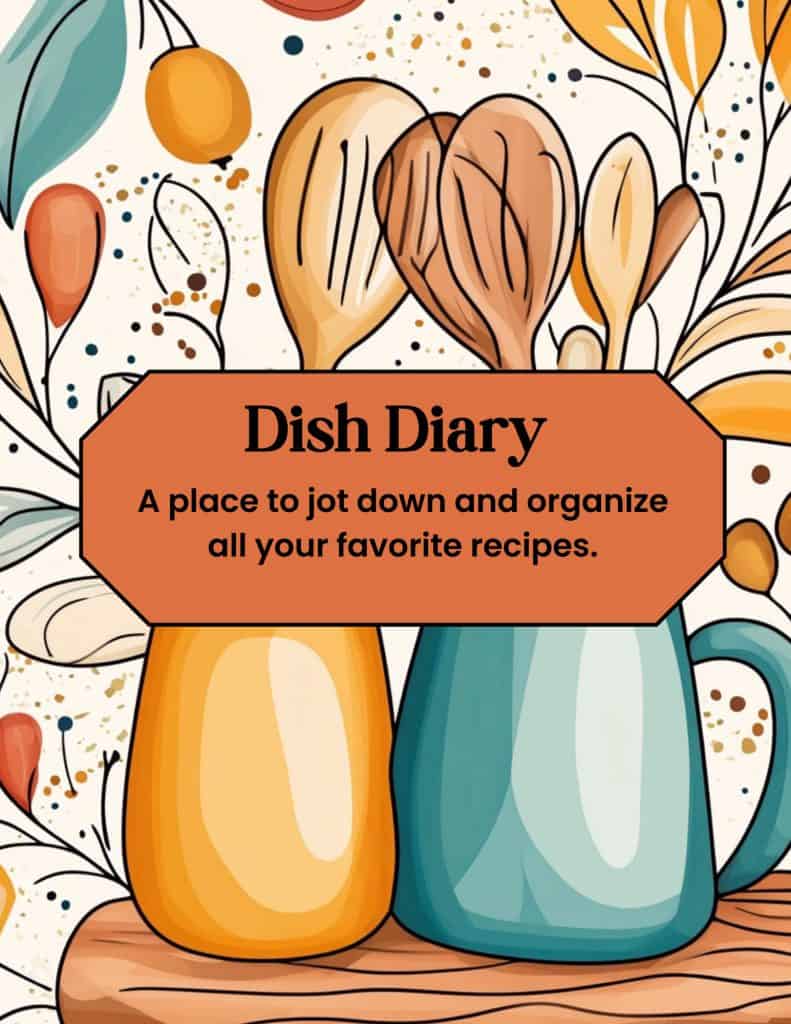
If you love to cook or want to organize your family recipes, a custom recipe planner is a must-have! Building your recipe planner isn’t hard, and you don’t need to be a designer to get gorgeous results.
In this post, I'll guide you through creating a beautiful, printable recipe planner in Canva. I’ll walk through creating a cover, making recipe cards, adding images and backgrounds, and even some simple hacks to save you time. This guide will help you create a recipe planner that's totally unique.
| Heads-up! Some of the links below are affiliate links, which means if you click and make a purchase, I might earn a few bucks (or maybe just a few cents—but hey, it adds up!). I only share things I actually use and love, and this helps me keep doing what I do. Total win-win, right? |
How to Design a Custom Cover for Your Recipe Planner
The cover is the first thing you see, so make it pop! I start in Canva because it's easy and free to try (or use Canva Pro here for extra features). I created this cover in Canva Dream Lab– and just added the banner (shape) and text. If you need a refresher on how to maneuver in Canva, check out my article about Canva's Homepage.
Choosing a Catchy Title
- Open a new Canva project.
- Use the AI “Magic Write” tool if you need inspiration for the title. Just type something like “Give me a name for a recipe planner.” You’ll get lots of fun options, from “Family Feast Planner” to “My Kitchen Magic.”
- Pick a font you like! Try decorative for the title but keep it readable.
- Add a subtitle if you want—something like “Tried-and-True Family Recipes” or your name.
Customizing Cover Images
- You can swap the main image for anything you want: a bowl of soup, fresh veggies, or kitchen art. Canva has a library of free photos or upload your own.
- Prefer unique graphics? Try pulling elements from Creative Fabrica or using Canva’s AI tools to generate a special image with prompts like “cooking utensils” or “home kitchen.” Or create your own in Midjourney or ChatGPT- I do all of them!
- Drag and drop your image onto the canvas, resize, and move it around until it looks right.
- Match your cover’s background color with a color pulled from your image. Canva’s color picker tool makes this a breeze!
Adding Shapes and Design Touches
- Add blocks or decorative shapes for accents. A colored box behind your title can really make the words stand out.
- Stick to 1–2 pops of color to keep your cover clean.
- If something won’t move when you grab it, check the “lock” function in Canva. Lock items you want to keep in place, unlock when you need to tweak.
- Need to duplicate a design? Press Ctrl + D to save time.
Creating the Inside Pages: Simple Layouts and Recipe Cards
The inside of your recipe planner should be clean and organized, but flexible so you can add as you go.
Divider or Title Pages
- Start with a super basic divider page: just add a pan or a whisk icon for a pop of cooking energy.
- Canva has built-in cooking symbols, or you can search Creative Fabrica for something fancy, or generate your own art with Canva’s AI.
- Choose a smaller font size for a subheading and maybe throw in a little blurb or inspirational quote.
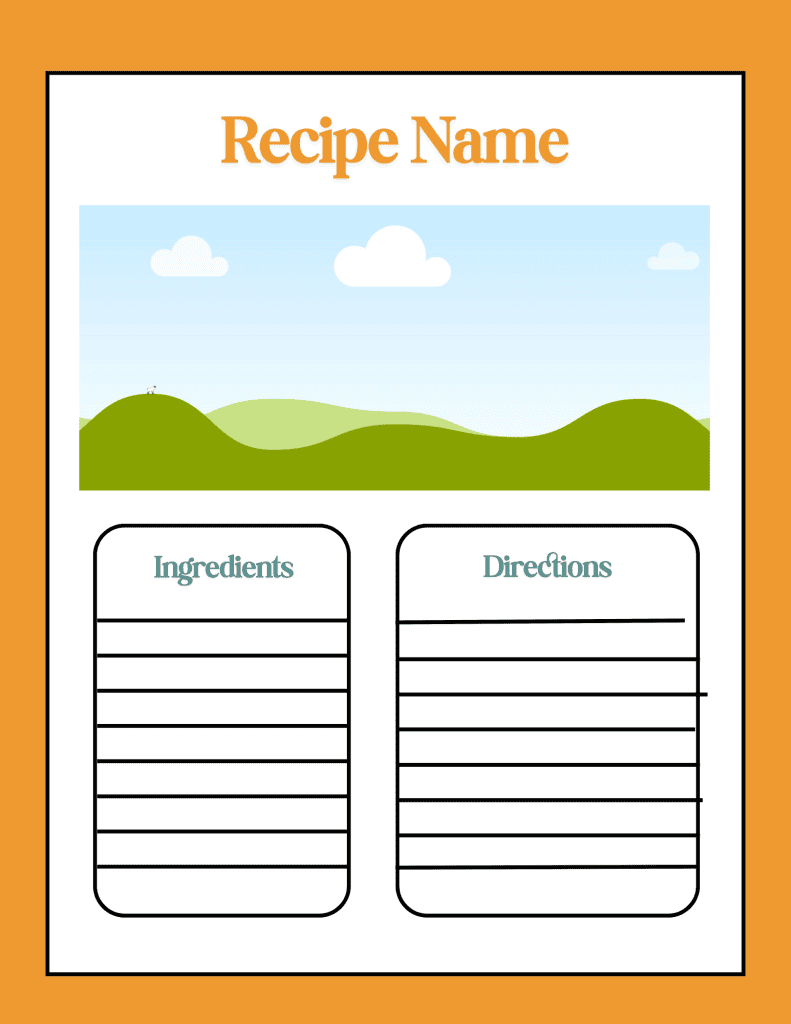
Designing Recipe Cards That Work
- I like to use 8.5×11 inches for a page so folks can print at home.
- Each card should include:
- Recipe title
- Photo or small image (optional)
- List of ingredients
- Step-by-step directions
- You can copy HelloFresh or Blue Apron styles: a bold title up top, room for a photo, sections for ingredients and instructions.
- Try different layouts! Square cards look modern, rectangles hold more info. Just keep your text large enough to read when printed.
Color Schemes and Fonts
- Match colors with your cover image. Use pastels or brights that make you happy.
- Avoid heavy black backgrounds since printing uses a ton of ink.
- For fonts, go with a playful script or decorative type for titles and a clear, simple font for the rest.
- Canva makes it easy to change font color and background with just a click.
Locking, Grouping, and Organizing Elements
- Sometimes lines or shapes get “stuck.” Check if they’re locked and unlock to move them.
- Want to move several things at once? Highlight and group them.
- Use Canva’s guides and snapping tools for perfect spacing.
Making the Recipe Planner Stand Out with Images and Backgrounds
Adding a picture or a subtle background gives your recipe cards that professional touch.
Background Images on Recipe Cards
- Use Canva’s “Magic Media” to generate kitchen or food backgrounds. Try prompts like “kitchen counter” or “cooking utensils.”
- Drag your new image behind your text. Make sure the recipe details are readable.
- If your background is too strong, drop the transparency or just use a solid color.
Frames and Grids for Photos
- Canva elements like frames and grids let you add more than one image, so you can show off your finished dish and the main ingredient.
- Adjust the spacing in grids to decide how separate or stacked your photos look.
- Use circles, squares, or rectangles for variety.
- To bring an image forward or send it to the back, use the “arrange” tool.
Clean, Print-Friendly Tips
- Don’t overload with images—leave space for handwriting or checkmarks if you want.
- Rounded corners give a soft look, but you can switch to sharp corners if you like.
- Busy backgrounds can distract from your recipe instructions—keep them light!
Personalizing Recipe Planner Content and Fonts
Now let’s make your cards truly your own.
Editing Text for Recipe Details
- Add separate text boxes for the title, ingredients, and directions.
- Use a large, clear font for the title. “Angel” is a fun font, but any bold script works.
- Pick a simple, smaller font for the ingredients and directions for easy reading.
- Make the title bold or colored for more pop.
Selective Font and Color Changes
- If you want to change a font or color for part of the card, highlight only that text. Avoid “change all” unless you want the whole planner to match.
- Try out different font combinations on a test card before using them everywhere.
Fine-Tuning Alignment and Layout
- Use Canva’s alignment buttons to center text or align to the left.
- Adjust line height and spacing so your ingredient list isn’t cramped.
- If you see elements overlapping, make sure locked items are unlocked before moving.
Duplicating and Organizing Your Recipe Planner Pages

Consistency helps your planner look pro, but a little variety keeps it fun.
Duplicating Recipe Card Pages
- Use Canva’s duplicate page function (three dots > Duplicate) or press Ctrl + D.
- Change a color or font for every few pages to avoid boredom.
- Add new images or swap backgrounds for a fresh look each time.
Planning Your Set
- For a starter recipe planner, aim for 10–20 recipe cards.
- Play with different styles: some cards with lines for writing, others blank for sketches or notes.
- Add variety with squared-off and rounded card elements.
Throw in Extra Pages
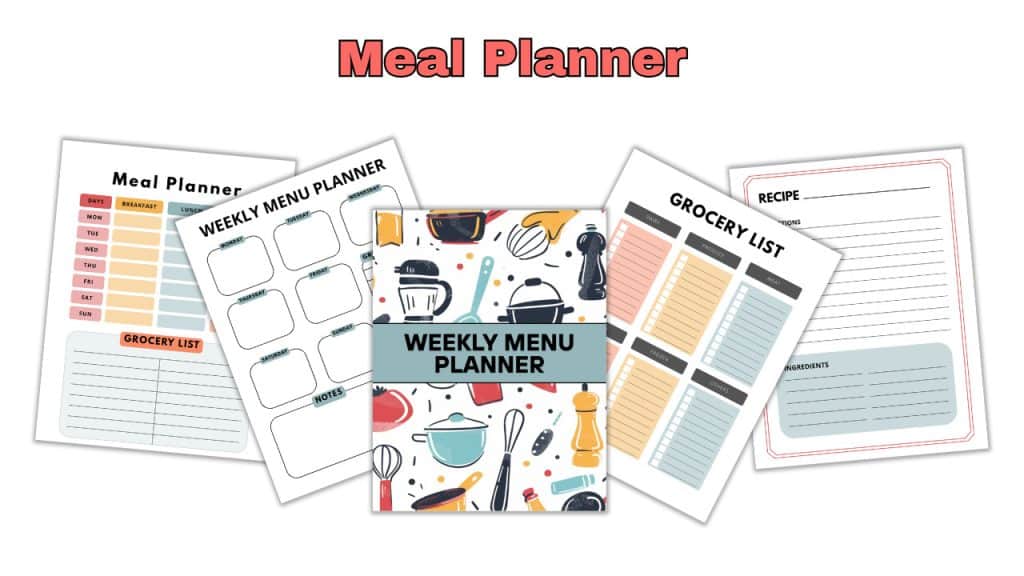
- Create a grocery list or meal planner page to round out your book.
- Short on time? Ready-made templates like those in the Template Treehouse membership can save hours.
Ready to Sell Your Recipe Planner?
Once your planner is looking tasty (see what I did there?), it’s time to get it out into the world! Here’s how to start selling:
- List it on Etsy or your own shop – Digital downloads are hot right now. Add a few mockup images, write a cozy product description, and hit publish.
- Bundle it up – Create a full kitchen kit! Add a grocery list, meal planner, or even matching labels. Instant value boost.
- Offer it as a lead magnet – Want more email subscribers? Offer a sample page or mini version as a freebie, then upsell the full planner.
- Promote with purpose – Show off how it’s used! Share photos or Reels of the planner in action—think Sunday meal prep, family dinners, or holiday baking.
Keep it simple, stay consistent, and let your planner do the talking. Because organized meals = happy buyers.
Shortcuts and Community Support for Your Recipe Planner
There’s no shame in using tools that make life easier! Here are some ways to get a jump start, plus how to find support if you get stuck.
Template Treehouse Membership
- With Template Treehouse, you get 20 done-for-you printable templates each month—ready for your own recipes. They include recipe journals, shopping lists, and bonus content.
- Everything comes with commercial rights, so you can even sell what you make.
The Clubhouse for Skill-Building
- Not ready to sell yet? The Clubhouse membership is all about learning handy Canva tricks and growing your design skills in a supportive space.
Ask for Help and Join the Fun
- Join Pam’s Canva Creations Facebook group to see what others are making, ask questions, and share your planners!
- Email Pam directly at [email protected] if you get stuck.
- Don’t forget to check out tips and tutorials on Pam Allen’s YouTube channel.
Start Your Recipe Planner Today
Making your own recipe planner is simple once you get the hang of Canva. Choose a favorite color, add a personal photo, and tweak the fonts until it feels like something you'd be proud to give—or keep! If you want ready-made designs and a supportive creative community, check out Pam Allen’s Template Treehouse or take a spin through the Facebook group for even more ideas.
Ready to get started? Open Canva and make that first cover page! Your kitchen (and your family’s taste buds) will thank you.
Grab my free Template Transformation Checklist to walk you through choosing, customizing, branding, and publishing your first Canva template like a pro.
Here are some Facebook Groups to join to help with your Business Growth
- Passive Income Sadie Smiley– learn how blogging can turn into $$ by adding products, courses, and membership
- Teachers Pay Teachers with Beth Ann– Want to Create Educational Printables and SELL THEM!
- Digital Planners with Samantha Stringer Interested in creating Digital Planners?
- WP Basics Guide | WordPress for Beginners Diane will walk you through WP/Kadence.
- Build Digital Product with Amanda Learn how to sell on ETSY
TOOLS I USE!
- My Platform (the heart of my business)Kianis (Try for 30 days for FREE)
- Email- I use Subtrio but also recommend Mailerlite or Flodesk
- Helps me write my BLOG POSTS- Right Blogger
- The Best Hosting service I ever had- BigScoots
- Where I get my domains NameCheap
- I learned how to CREATE an online business- The Passive Income Pathways aka Sadie Smiley (PIPs) is where to start- if you are serious about making money online then sign up for Blog to Membership-LITE MEMBERSHIP