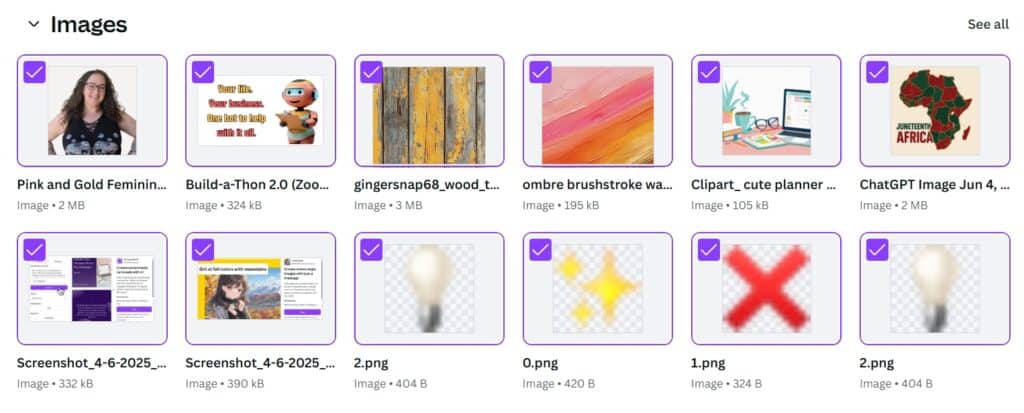
Hey there! Have you ever opened Canva, ready to create something amazing, only to encounter chaos with your uploads?
Trust me, I’ve been there too! A messy uploads section can slow you down and make designing feel way more overwhelming than it needs to be.
But guess what? It doesn’t have to stay that way. Today, I’m going to show you a super-easy method to clean up your uploads, and it’ll just take a few minutes each day to stay organized.
Let’s dive in and make that Canva workspace clutter-free!
| Heads-up! Some of the links below are affiliate links, which means if you click and make a purchase, I might earn a few bucks (or maybe just a few cents—but hey, it adds up!). I only share things I actually use and love, and this helps me keep doing what I do. Total win-win, right? |
Canva Organization: Your Uploads Don’t Have to Be Chaos
Let’s get one thing straight—Canva organization doesn’t have to mean a full-on design detox. In fact, there’s a super simple fix you can actually stick to.
First up, let’s bust a myth: Deleting an image from your Canva uploads won’t mess with your designs. If you’ve already added it to a project, it stays put. Promise.
So if you’ve got random files you’re never gonna use again, go ahead and hit delete. No need to be sentimental about screenshots from 2021 or that fifth version of a logo you didn’t end up using. Also, you can HIDE DESIGNS in Canva that were shared with you- you know those pesky designs people have given you over the years, and you couldn't figure out how to get rid of them- no worries, I got ya!
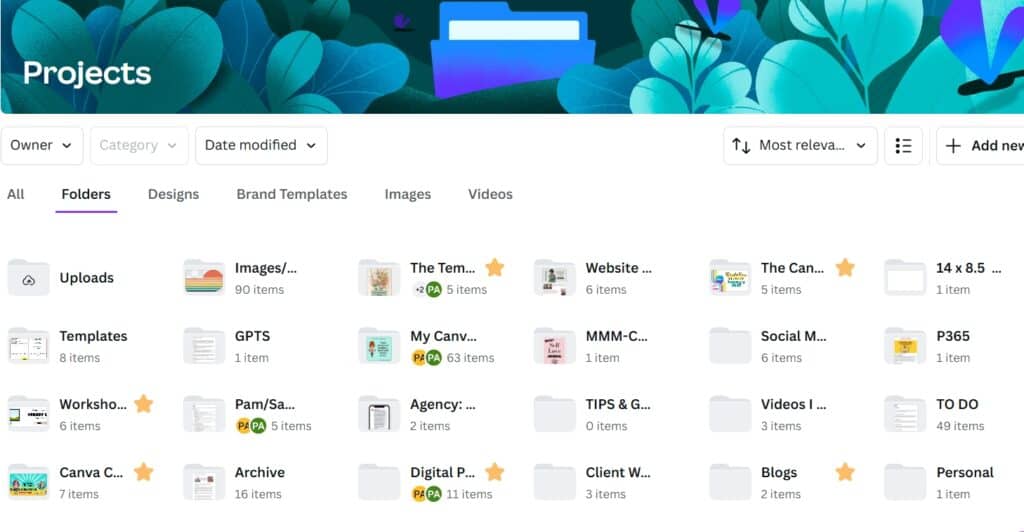
Canva Organization: Use Folders
Now, some images are golden, and you know you’ll be using them again and again. Don’t just leave them hanging in your uploads—organize them into folders!
Here’s how: Go ahead and select the images you want to keep, click the “move to folder” option, and create or select a folder where they belong. Easy, right? You can even do this while you’re in the middle of designing.
I like to have a folder for images I plan to work with in future projects, and it’s saved me a ton of time. So instead of scrolling through what feels like hundreds of random uploads, I jump into my organized folders and grab exactly what I need.
This isn't just about keeping things tidy. It’s about SPEED. Finding just the right file quickly means less time searching and more time designing!
Keep Videos and Audio Files Organized Too
It’s not just images that get out of hand in uploads. Canva lets you throw in all kinds of media—videos, audio, everything. Same rules apply here.
If you’ve uploaded some audio tracks or video clips that you’re done with, don’t let them sit there taking up space. Just click and delete.
If you want to use them again, pop them into their very own folders. Sorted and ready to use when you need them!
Name your folders and designs so you can find them! Canva has a search and it is easy to find your projects but that is only if you name them correctly.
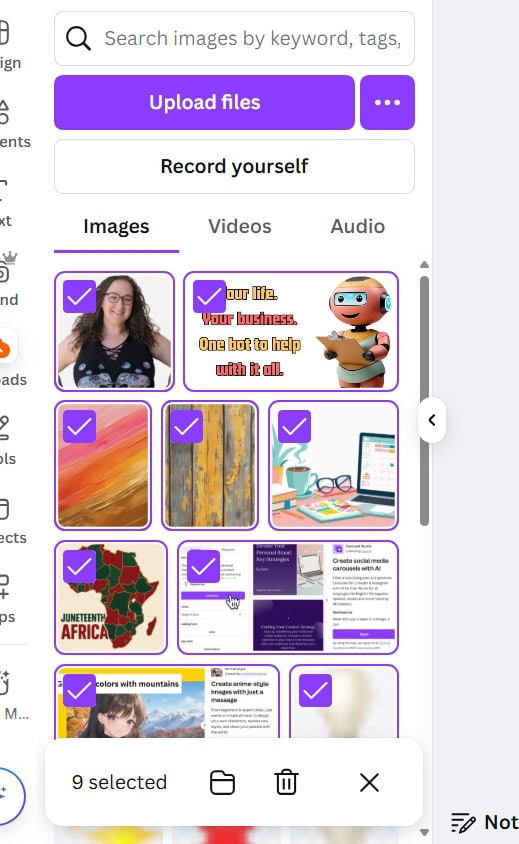
Move Files to Folders Directly From Your Design
One feature I LOVE (and maybe you didn’t know about) is the ability to move files to folders while you’re designing. How cool is that? If you’re in the middle of building something awesome in Canva and realize, “Hey, I’ll probably use this image again,” you can simply move it to a folder right then and there. No need to stop your creative flow. Just click on “file,” then hit “move to folder,” and you're done!
Being able to stay in the flow of your work while staying organized? That’s a win-win.
A Simple Routine = Canva Organization
Like I said earlier, you don’t have to go on a full-blown organizing spree. Just spend a few minutes per day and you’ll be amazed at how much cleaner your uploads section will be. Little habits lead to big results!
Here’s an easy routine to try:
- When you finish a design: Trash any images, video, or audio files you won't use again.
- At the end of your day: Spend five minutes organizing files into folders.
- Once a week: Do a quick review of your uploads—delete anything you’ve missed or reorganize as needed.
Before you know it, your Canva workspace will be so much easier to navigate. You’ll spend less time hunting down files and more time creating.
Are you ready for a Clutter Free Canva?
Keeping your Canva uploads tidy isn’t just about organization—it’s about making your design life easier. Whether you’re deleting files you no longer need or organizing the ones you do into folders, these small steps can save you a massive amount of time in the long run. And it doesn’t take forever. A little bit of attention each day, and you’re good to go!
So, give it a try. Clean up those uploads, and let’s keep that creative momentum going! Now, go ahead and crush your next design in your fresh new, clutter-free Canva workspace!
Here are some Facebook Groups to join to help with your Business Growth
- Passive Income Sadie Smiley– learn how blogging can turn into $$ by adding products, courses, and membership
- Teachers Pay Teachers with Beth Ann– Want to Create Educational Printables and SELL THEM!
- Digital Planners with Samantha Stringer Interested in creating Digital Planners?
- WP Basics Guide | WordPress for Beginners Diane will walk you through WP/Kadence.
- Build Digital Product with Amanda Learn how to sell on ETSY
TOOLS I USE!
- My Platform (the heart of my business)Kianis (Try for 30 days for FREE)
- Email- I use Subtrio but also recommend Mailerlite or Flodesk
- Helps me write my BLOG POSTS- Right Blogger
- The Best Hosting service I ever had- BigScoots
- Where I get my domains NameCheap
- I learned how to CREATE an online business- The Passive Income Pathways aka Sadie Smiley (PIPs) is where to start- if you are serious about making money online then sign up for Blog to Membership-LITE MEMBERSHIP